Qt5.15.2 msvc静态编译记录
时间:2022-05-11 10:30
0 参考
1 获取源码
试过通过官网的MaintenanceTool,还有git获取的源码,编译时总是有报错,最后试着从清华源获取源码,成了。
2 编译工具
源码路径下的README文件中有编译方式的说明,其中列出来Windows下编译所需工具
   Windows:
   --------

     Open a command prompt.
     Ensure that the following tools can be found in the path:
     * Supported compiler (Visual Studio 2012 or later,
        MinGW-builds gcc 4.9 or later)
     * Perl version 5.12 or later   [http://www.activestate.com/activeperl/]
     * Python version 2.7 or later  [http://www.activestate.com/activepython/]
     * Ruby version 1.9.3 or later  [http://rubyinstaller.org/]
python需要python2,python3不行,下面是我的版本
This is perl 5, version 32, subversion 1 (v5.32.1) built for MSWin32-x64-multi-thread
Python 2.7.18
ruby 2.7.3p183 (2021-04-05 revision 6847ee089d) [x64-mingw32] (strawberry-perl-5.32.1.1-64bit)
如果安装有问题或者环境变量有问题之后configure配置时会报warning
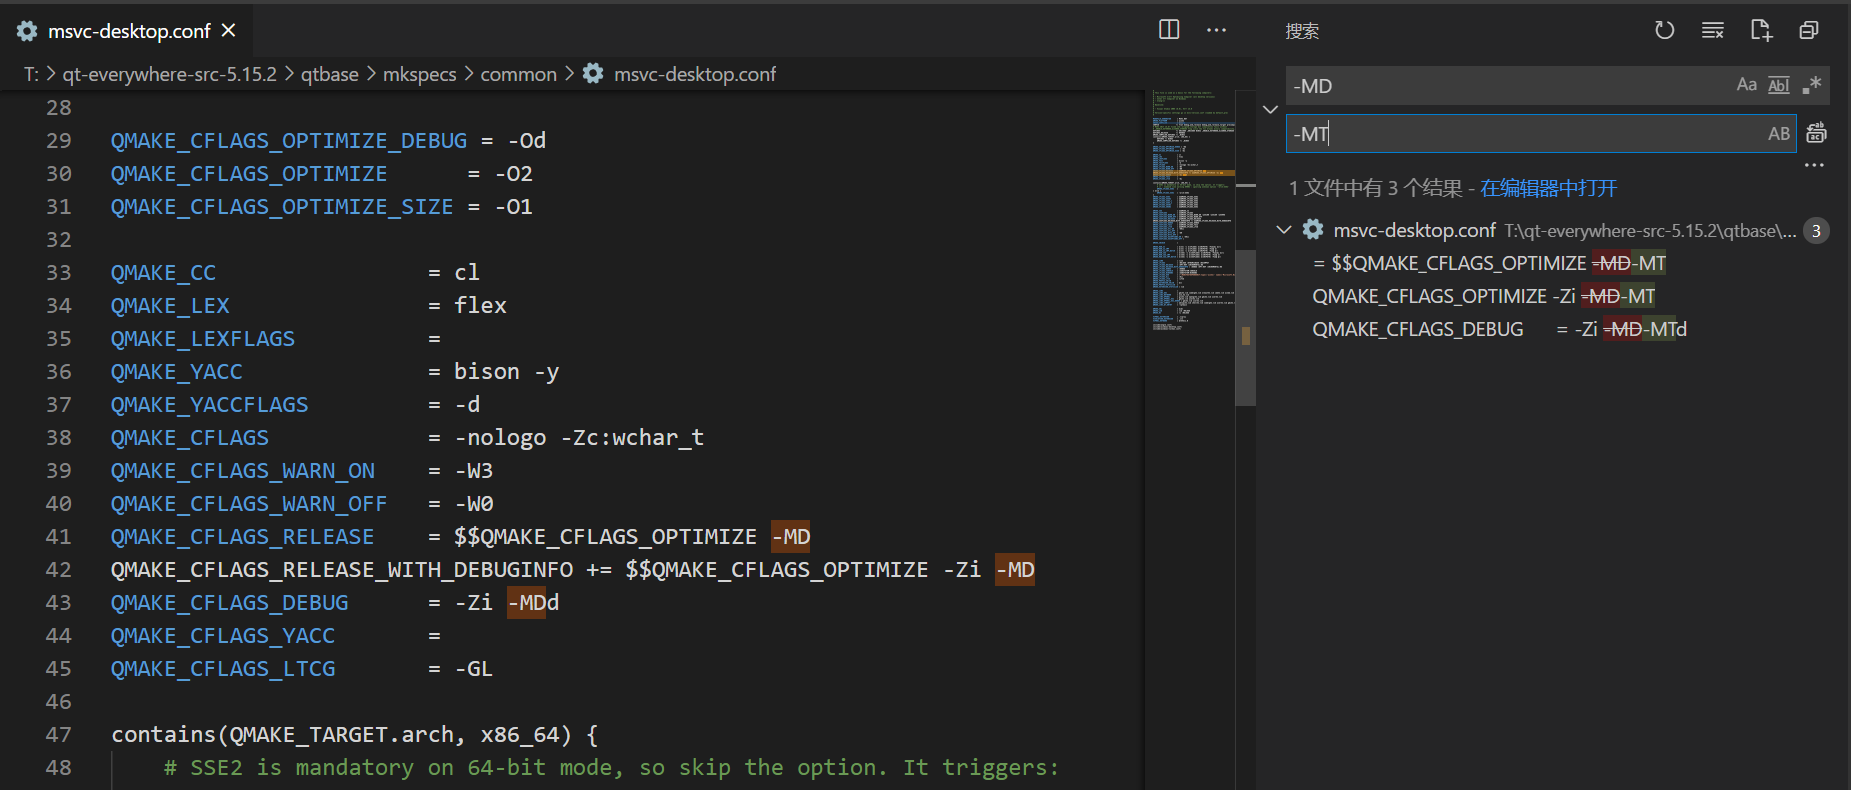
3 修改\qt-everywhere-src-5.15.2\qtbase\mkspecs\common\msvc-desktop.conf
将文件中-MD 全改为 -MT(3处)
4 configure配置
打开x64 Native Tools Command Prompt for VS 2019(打算编译成64位就打开x64,32位打开x86),
cd 到源文件文件夹
configure.bat -prefix S:\Qt\5.15.2\Qt5.15.2-static -confirm-license -opensource -debug-and-release -static -static-runtime -angle -combined-angle-lib -no-feature-d3d12 -platform win32-msvc -mp -nomake tests -nomake examples -nomake tools -skip qtwebengine -skip qtwebview
参数的具体含义参考博客里说的非常详细,这里就不贴了,请自己根据需求调整。
configure -h指令可以查看允许的参数与简介
完成时会显示结果(warning,如果有的话)与下一步指示
Qt is now configured for building. Just run ‘nmake‘.
Once everything is built, you must run ‘nmake install‘.
Qt will be installed into ‘设定的编译结果路径‘.
5 编译
继续运行nmake,需要等待比较长的时间。
当nmake完成时,继续运行nmake install,完成时就结束了。
6 添加到Qt Creator
我是用MaintenanceTool下载的Qt Creator
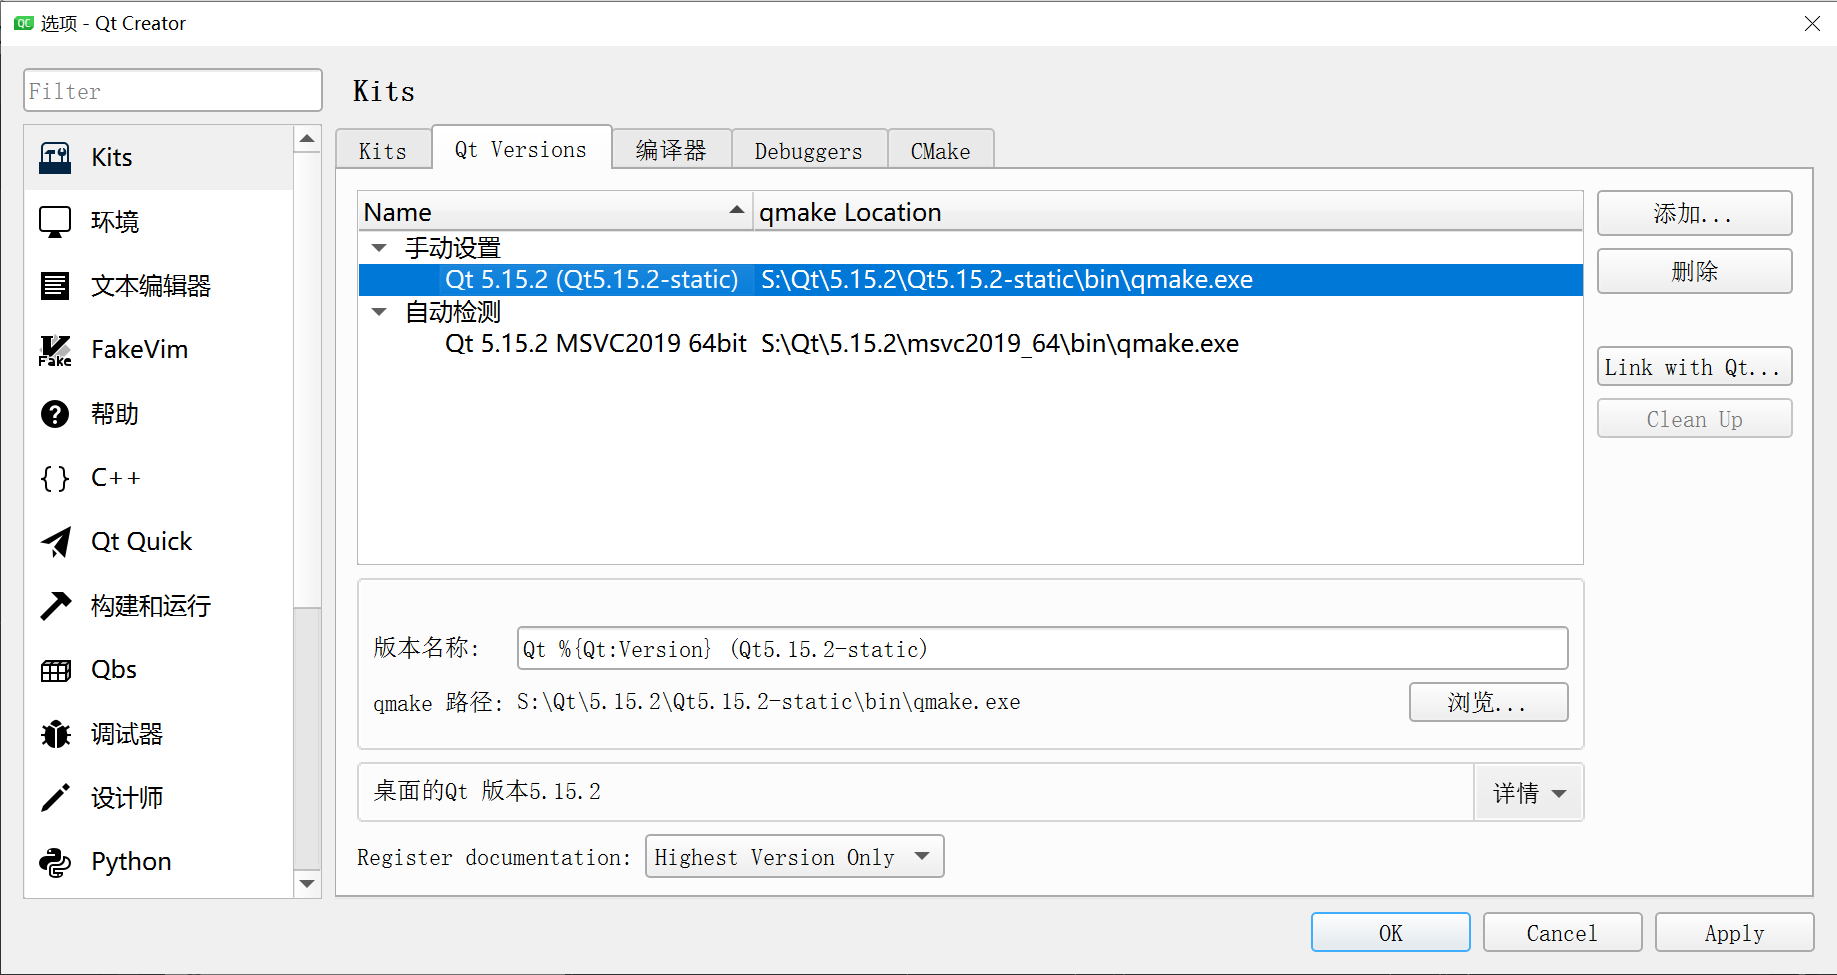
工具-选项-Kits-Qt Versions
点击添加,找的编译结果目录bin中的qmake.exe,
会给一个找不到qmlscene.exe的警告,我的解决方案是去别的库(可以用MaintenanceTool下载)bin目录下复制个过来。
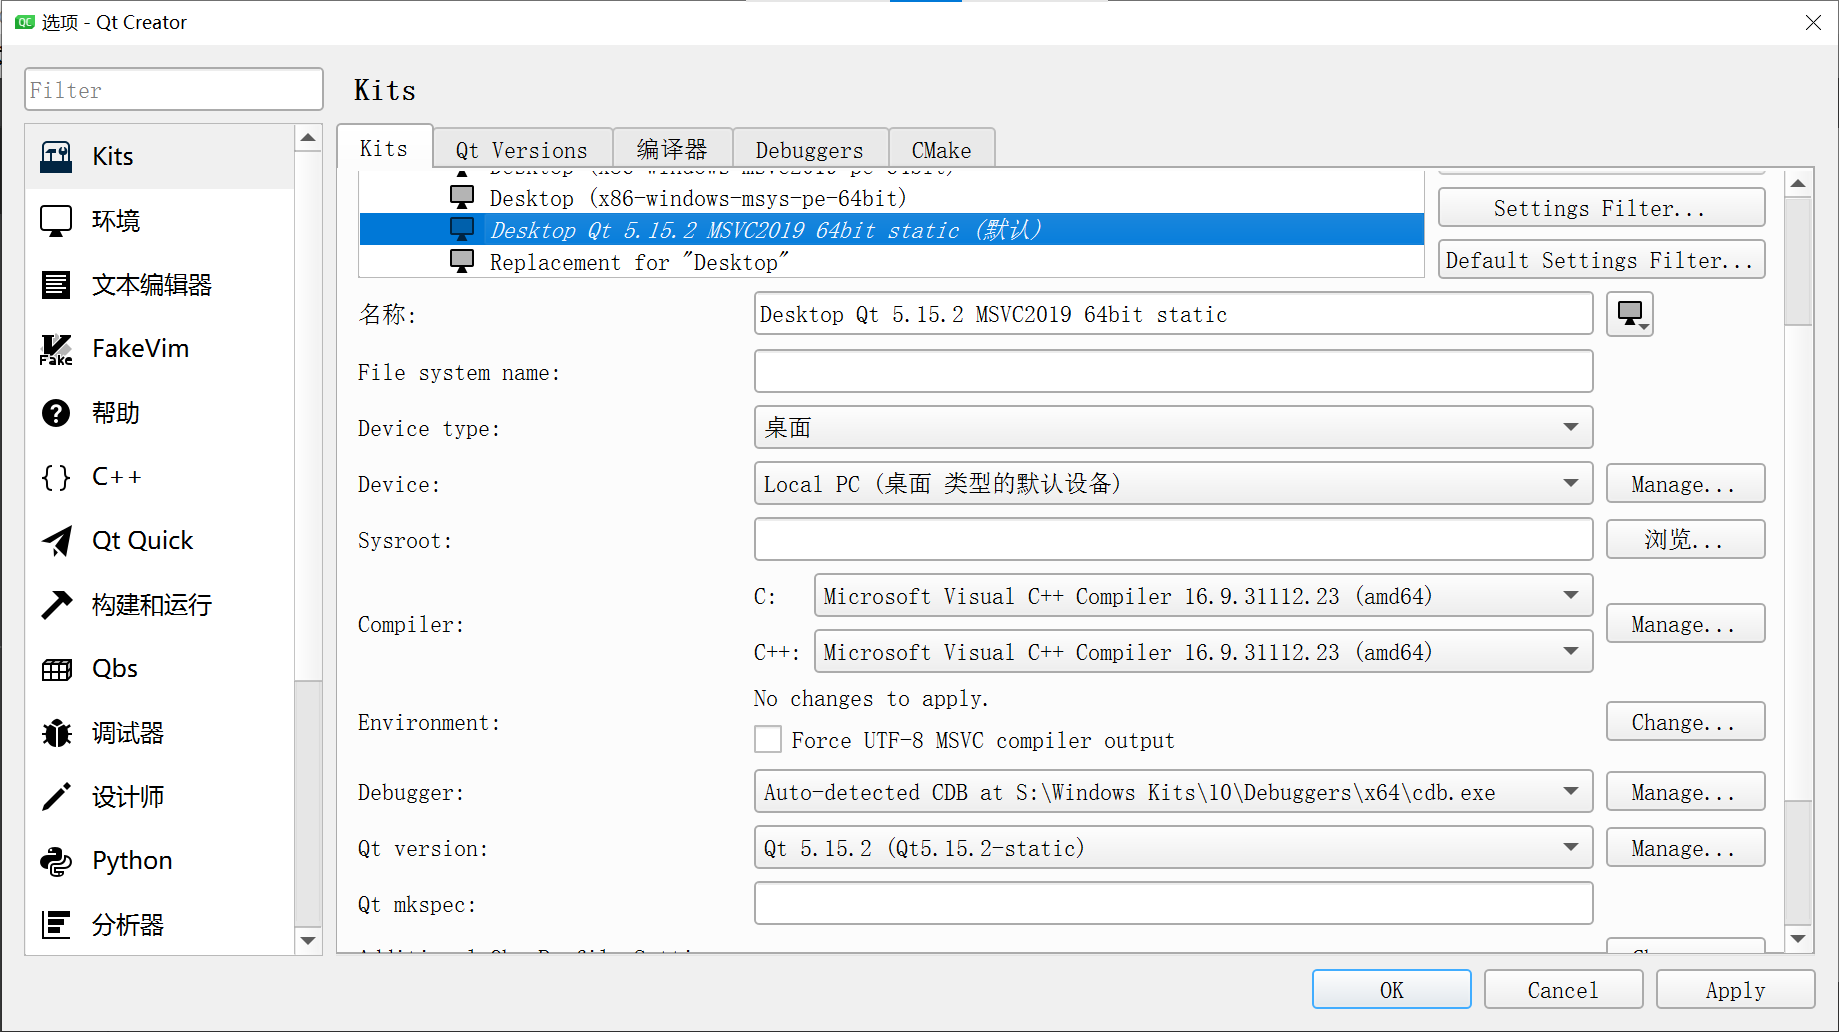
工具-选项-Kits-kits
设置好 名称,Compiler(64还是32由编译方式决定),Qt Version(上一步刚刚添加的版本)
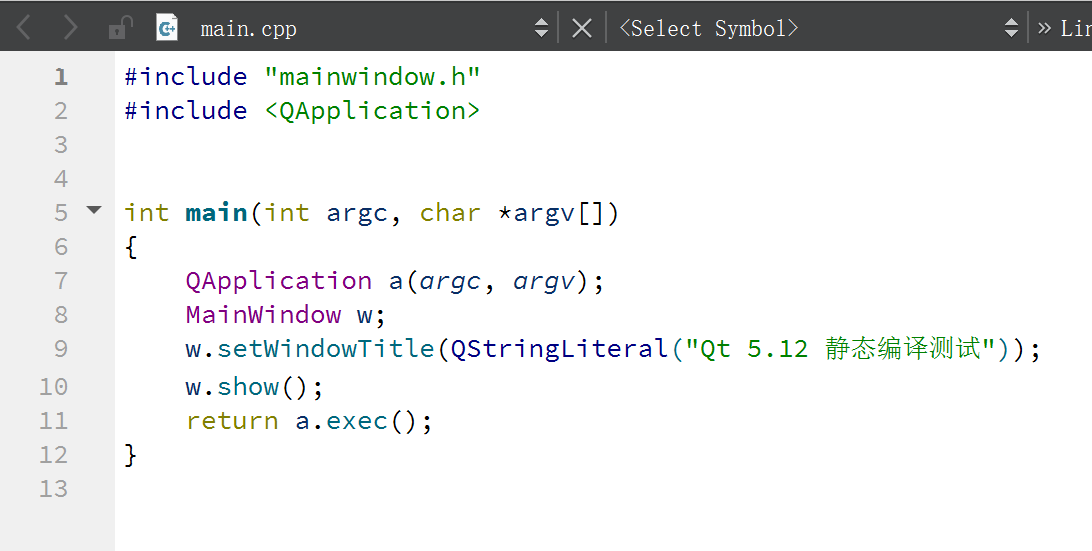
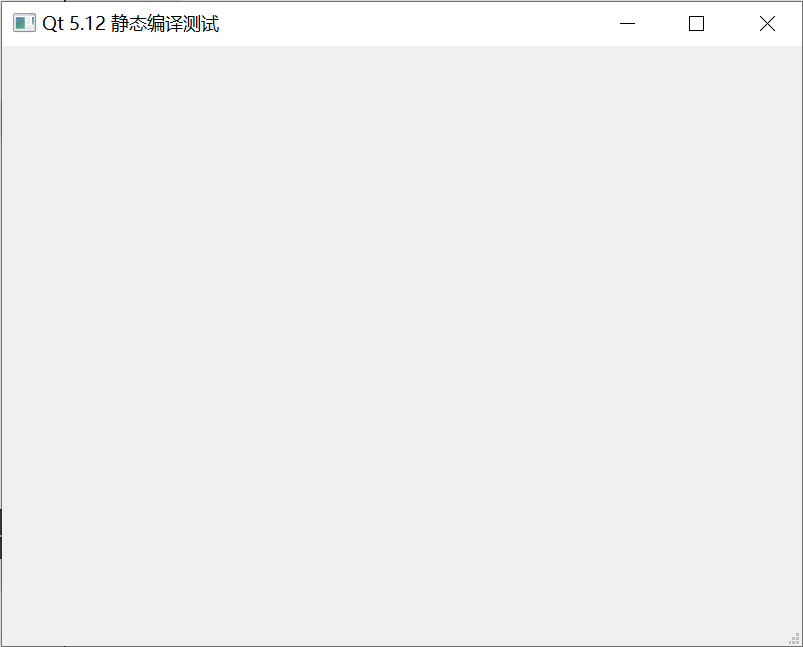
简单写个程序测试下


本类排行
今日推荐
-
逗拍56个民族服装特效模板免费版

版本:11.6.0
大小:105.33MB
日期:2024-04-27
-
甜美证件照正式版

版本:1.1.2
大小:60.41MB
日期:2024-04-27
-
复古老照片滤镜免费版

版本:1.0
大小:65.46MB
日期:2024-04-27
-
柠萌相机官方版

版本:1.0.0
大小:22.60MB
日期:2024-04-27
-
玩美修图照相机新版
版本:8081.18.12.12
大小:28.26MB
日期:2024-04-27
-
智邦国际ERP系统官方版

版本:v3206.001
大小:28.96MB
日期:2024-04-27
热门手游
-
欧洲卡车模拟器尊享版

版本:v2.6
大小:877.1M
日期:2024-04-28
-
搬家拆箱模拟器破解版

版本:v1.2
大小:70.8M
日期:2024-04-28
-
创建自己的宇宙官方版

版本:v1.1.0
大小:73.9M
日期:2024-04-28
-
海神的回声安卓版

版本:v1.0.0
大小:69.9M
日期:2024-04-28
-
甜瓜游乐场虫虫助手汉化版

版本:v14.1
大小:63.5M
日期:2024-04-28
-
蝙蝠行者完整版

版本:1.1
大小:56.62MB
日期:2024-04-28